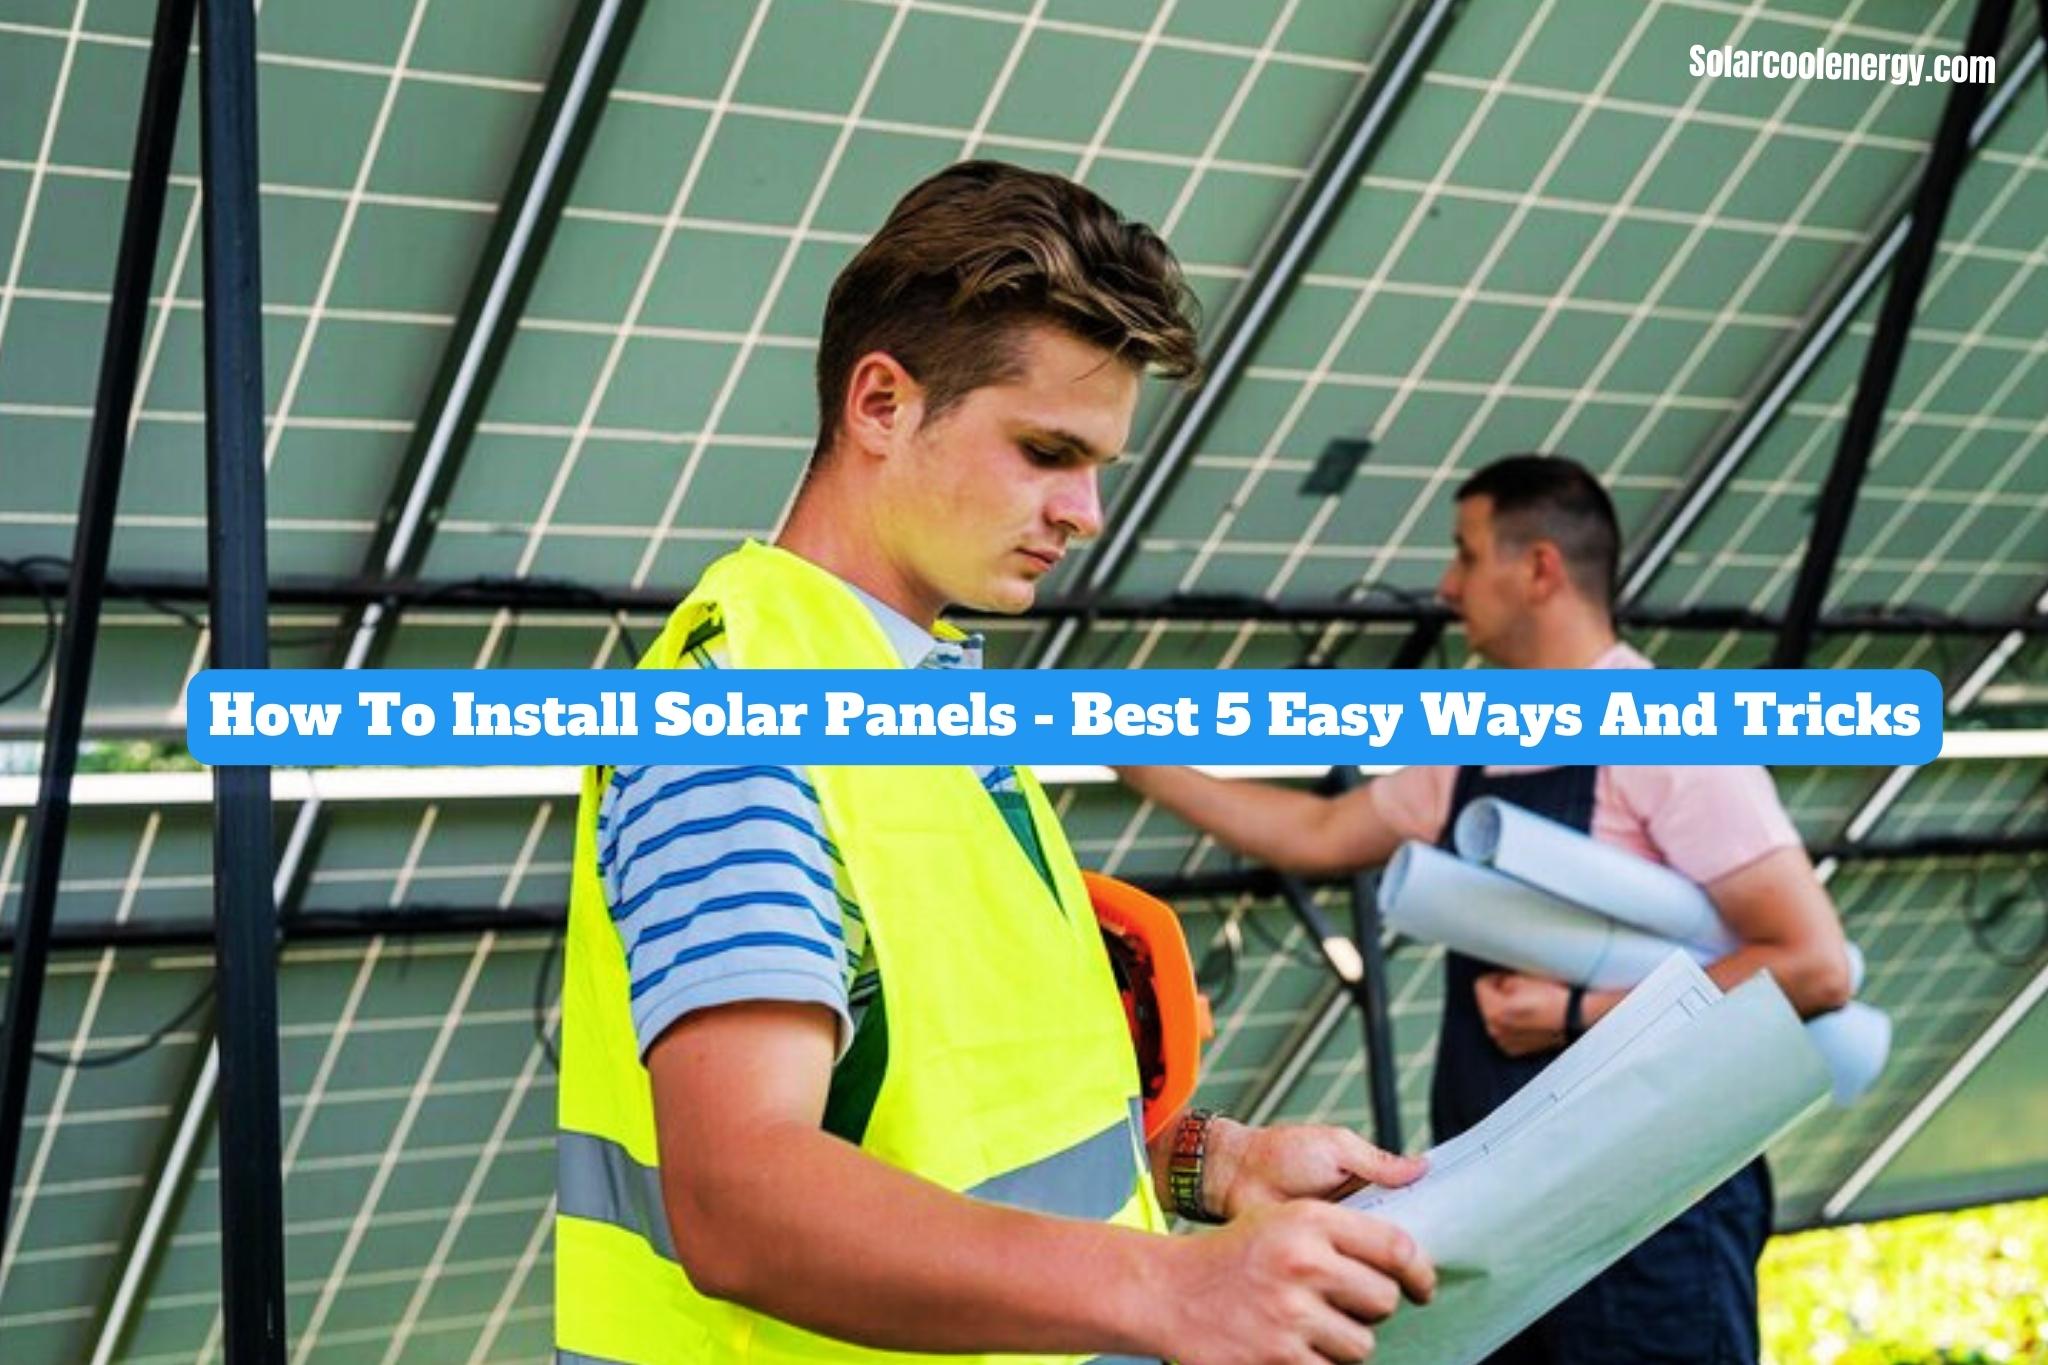
To install solar panels, first, install them on the roof of your home or building, then connect them to an inverter and wire them into your electrical system. It is important to note that proper installation may require technical expertise and compliance with local regulations.

Assessing Home Solar Potential
Before embarking on a solar panel installation project, it is crucial to assess your home’s solar potential. This involves evaluating various factors such as the suitability of your roof, understanding local permits, and sourcing quality solar equipment. By considering these aspects, you can ensure a smooth and successful installation process.
Evaluating Roof’s Suitability
An essential step in assessing your home’s solar potential is evaluating the suitability of your roof. A solar panel installation relies heavily on the condition and orientation of your roof, as it needs to receive maximum sunlight throughout the day. Consider the following factors when evaluating your roof:
- Roof Age: A younger roof with a longer lifespan is ideal for solar panel installation.
- Roof Structure: Determine if your roof can support the weight of solar panels. Consult a structural engineer if necessary.
- Roof Orientation and Tilt: South-facing roofs with a tilt between 20-40 degrees are optimal for solar panel efficiency.
- Shading: Assess if there are any obstructions such as trees or buildings that can cast shadows on your roof and reduce solar energy production.
Understanding Local Permits
Before installing solar panels on your property, it is essential to familiarize yourself with local permits and regulations. Different areas have varying requirements and processes for solar panel installations. Understanding the local guidelines will help you avoid any potential legal issues and ensure compliance. Consider the following steps:
- Research Local Regulations: Visit your local government’s website or reach out to the relevant authorities to understand the specific permits and regulations regarding solar panel installations in your area.
- Obtain Building Permits: Apply for any necessary building permits before beginning the installation. Submitting comprehensive plans and specifications is a common part of this process.
- Utility Connections: Consult with your utility company to understand the requirements and procedures for connecting your solar panels to the electrical grid.
Sourcing Quality Solar Equipment
Choosing the right solar equipment is crucial for the long-term performance and efficiency of your system. Sourcing quality solar equipment ensures durability and maximum energy production. Consider the following factors when selecting your solar equipment:
- Research Trusted Suppliers: Look for reputable suppliers with positive reviews and a proven track record in the solar industry.
- Compare Quotes: Obtain quotes from multiple suppliers to compare prices, warranties, and equipment specifications.
- Evaluate Equipment Efficiency: Consider the efficiency ratings of solar panels, inverters, and batteries to ensure optimal energy conversion.
- Warranty and Support: Check the warranty periods and after-sales support provided by the supplier to address any potential issues in the future.
By thoroughly evaluating your roof’s suitability, understanding local permits, and sourcing quality solar equipment, you can make informed decisions and ensure a successful solar panel installation on your home.
How To Install Solar Panels Safely
Installing solar panels safely is a crucial task. Follow these steps: 1. Choose a reputable supplier. 2. Install the panels on your roof following manufacturer instructions. 3. Connect the panels to the inverter. 4. Wire the battery into your home’s circuit breaker panel.
5. Connect the inverter to the fuse box. Remember to consult a professional if needed.
Choosing Proper Personal Protective Equipment
Safety should be the top priority when it comes to installing solar panels. One crucial aspect of ensuring your safety during the installation process is using proper personal protective equipment (PPE). PPE not only protects you from potential hazards but also helps minimize any accidents or injuries. Here are some essential PPE items you should have:
- Safety glasses: Keep dust and debris out of your eyes.
- Hard hat: Shield your head from falling objects or electrical shock.
- Gloves: Ensure a firm grip and protect your hands from cuts or electrocution.
- Non-slip safety shoes: Prevent slips or falls while working at heights.
- Ear protection: Reduce noise exposure if using power tools or machinery.
- Respirator: Guard against inhaling harmful particles or chemicals.
Investing in quality PPE is crucial to keep yourself safe during the installation process. Make sure to wear them correctly and replace any damaged or worn-out equipment.
Basics Of Working With Electrical Components
Working with electrical components is a significant part of installing solar panels. It is vital to have a basic understanding of electrical systems to ensure safety and efficiency.
- Familiarize yourself with electrical circuits: Understand the flow of electric current and the different components involved.
- Use insulated tools: Insulated tools help prevent accidental electric shocks or short circuits.
- Turn off the power: Before installing or connecting any electrical components, ensure that the power source is turned off to avoid electrocution.
- Proper grounding: Ensure that the solar panels and electrical system are properly grounded to prevent electrical shocks and other issues.
- Follow proper wiring techniques: Use appropriate wiring methods, such as conduit or conduit-free, and ensure proper cable management to prevent damage or unnecessary stress on the wires.
Working with electrical components during solar panel installation can be complex, so it’s essential to consult with a professional if you’re unsure about any aspect of the process. Adequate knowledge and precautions will help ensure a safe and successful installation.
Credit: Youtube
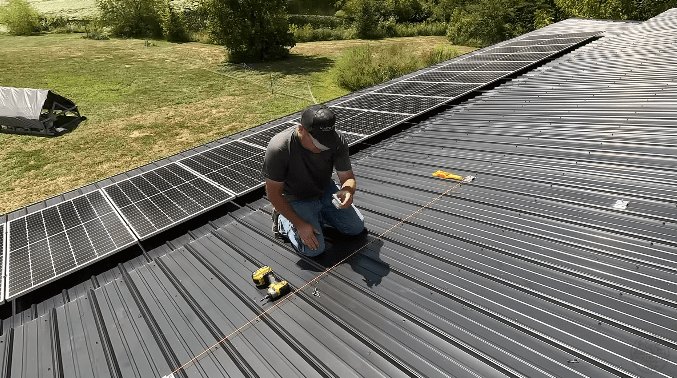
Mounting The Solar Panel Supports
To mount the solar panel supports, begin by installing the rails and junction box, followed by laying the panels and connecting the wires to the breaker. Finally, secure the panels and ensure proper functionality.
Identifying Ideal Placement On The Roof
When it comes to mounting solar panel supports, identifying the ideal placement on the roof is crucial for optimal performance and efficiency. Before proceeding with the installation, follow these steps to determine the best position for your solar panels:
1. Assess the Roof Orientation: The first step is to determine the orientation of your roof. Ideally, solar panels should be installed facing south or southwest to maximize exposure to sunlight throughout the day. This ensures that the panels receive maximum sunlight and generate more electricity.
2. Consider the Roof Tilt: The next consideration is the roof tilt, which determines the angle at which the solar panels are mounted. The tilt angle should be equal to or close to the geographical latitude of your location. For example, if you are located at 30 degrees latitude, the panels should be angled at approximately 30 degrees.
3. Evaluate Shading Obstructions: Take note of any potential shading obstructions such as trees, neighboring buildings, or chimneys that may obstruct sunlight from reaching the solar panels. It is essential to minimize shading as it can significantly impact the efficiency of your solar system.
4. Measure Available Space: Measure the available space on your roof to determine the number of panels you can install. Consider the dimensions of the panels and leave enough space between them for proper air circulation and maintenance.
5. Consult a Professional: If you are unsure about the ideal placement or need assistance in determining the best location for your solar panels, it is recommended to consult with a professional solar installer. They can provide expert guidance based on your specific roof structure and surrounding environment.
Sealing And Securing The Mounts
Once you have identified the ideal placement for your solar panels, it is time to seal and secure the mounts to ensure a stable and long-lasting installation. Follow these steps to properly seal and secure the mounts:
1. Clean the Roof: Before installing the mounts, clean the roof surface thoroughly to remove any dirt, debris, or loose particles. This will ensure proper adhesion and prevent any potential leaks or damage.
2. Apply Roof Sealant: Apply a layer of roof sealant or flashing around the area where the mounts will be installed. This helps create a waterproof barrier and prevents water penetration through the roof.
3. Attach Mounting Brackets: Attach the mounting brackets to the roof using appropriate fasteners such as lag screws or roof anchors. Make sure to follow the manufacturer’s instructions and ensure a secure and stable attachment.
4. Place and Adjust Rails: Once the mounting brackets are securely attached, place the rails onto the brackets. Adjust the rails according to the desired position and angle for the solar panels. Make sure everything is lined up correctly and tweak it if needed.
5. Secure the Panels: After the rails are properly positioned, secure the solar panels onto the rails using the provided mounting hardware. Ensure that the panels are tightly secured and properly aligned.
6. Check for Stability: Once all the panels are installed, give the entire system a thorough check for stability. Make sure there are no loose connections, and everything is securely fastened.
By carefully identifying the ideal placement on the roof and properly sealing and securing the mounts, you can ensure a reliable and efficient solar panel installation. Remember to follow safety guidelines and, if necessary, seek professional assistance for a hassle-free installation process.
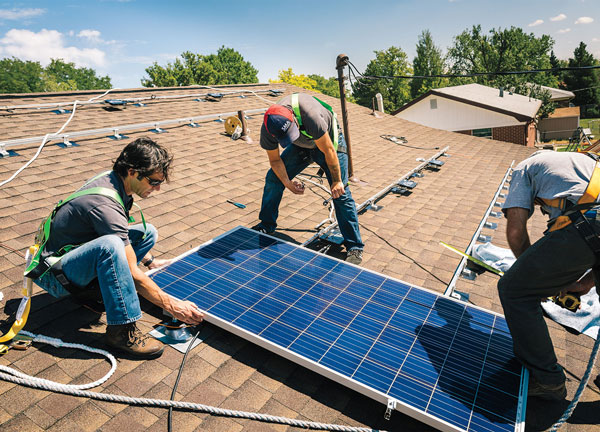
Assembling The Solar Panel Frame
Assembling the solar panel frame is a crucial step in the installation process, as it provides the necessary support for the panels and ensures their proper positioning. In this section, we will discuss two important aspects of assembling the frame: attaching rails to the mounts and ensuring structural integrity.
Attaching Rails To The Mounts
Before proceeding with attaching rails to the mounts, make sure you have already securely mounted the solar panel frame on the rooftop or the desired location. The rails play a critical role in providing support and stability to the solar panels.
To attach the rails to the mounts, follow these steps:
- Position the rails on the mounts, aligning them with the predetermined layout.
- Use a level tool to ensure the rails are perfectly horizontal, as this will optimize the efficiency of the solar panels.
- Securely fasten the rails to the mounts using the provided screws or bolts. Ensure they are tightened properly to avoid any movement or slippage.
By attaching the rails to the mounts correctly, you create a solid foundation for the solar panels and ensure their stability even in adverse weather conditions.
Ensuring Structural Integrity
After attaching the rails to the mounts, it’s essential to ensure the structural integrity of the solar panel frame. This step involves inspecting the frame for any signs of weakness or potential issues that may compromise its stability over time.
- Check for any loose connections or fasteners and tighten them if necessary.
- Inspect the frame for any cracks, bends, or signs of damage. If any issues are found, consult a professional for guidance on repair or replacement.
- Verify that all components, including brackets, brackets, and rails, are securely attached and aligned.
Ensuring the structural integrity of the solar panel frame is vital for the overall performance and longevity of the system. A stable and sturdy frame will not only protect the panels but also optimize their energy output.
Credit: Amazon
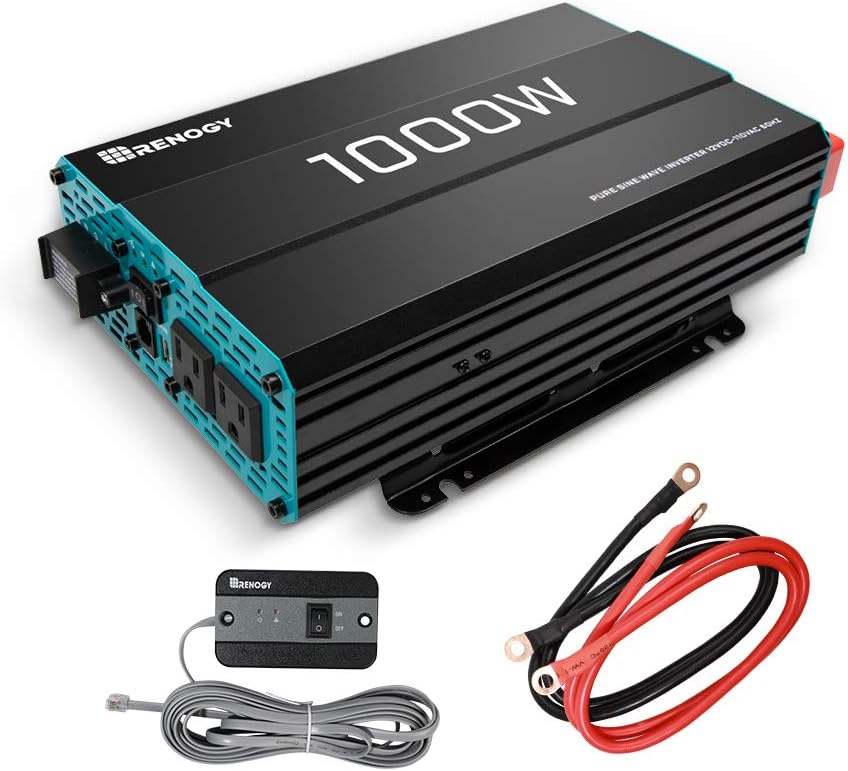
Connect Solar Panels To The Inverter
To connect solar panels to the inverter during the installation process, first, mount the panels on your roof. Then, connect the panels to the inverter and wire the inverter to the fuse box in your home. Finally, wire the battery into the circuit breaker panel for optimal energy efficiency.
Wiring Panels In Series Or Parallel
When it comes to connecting solar panels to the inverter, one important consideration is how to wire the panels. There are two common methods: wiring panels in series or parallel.
- Wiring panels in series: This method involves connecting the positive terminal of one panel to the negative terminal of the next panel. By doing this, you increase the voltage output of the system while maintaining the same current. This is beneficial when you have a longer distance between the panels and the inverter. However, it’s important to note that the voltage of the entire system is limited by the lowest voltage panel.
- Wiring panels in parallel: In this method, the positive terminals of all the panels are connected together, as well as the negative terminals. The current output of the system increases while maintaining the same voltage. This is beneficial when the distance between the panels and the inverter is shorter. However, it’s important to ensure that all panels have the same voltage output, as the entire system is limited by the panel with the lowest voltage.
Grounding The System Appropriately
Grounding the solar panel system appropriately is crucial to ensure the safety and proper functioning of the system. Here’s what you need to know about grounding:
- Grounding the panels: Each panel should be grounded individually to minimize the risk of electrical shock. This involves connecting the grounding wire to the frame of each panel. Make sure to follow the manufacturer’s guidelines on how to properly ground the panels.
- Grounding the inverter: The inverter should also be properly grounded to protect against electrical faults. This is typically done by connecting the inverter’s grounding terminal to a grounding electrode, such as a ground rod, through a grounding conductor.
- Grounding the system as a whole: In addition to grounding the panels and inverter, the entire system should be grounded. This can be achieved by connecting the grounding conductor to the main grounding system of the building or to a separate grounding electrode.
- Consult a professional: It is essential to consult with a certified professional to ensure that the grounding of your solar panel system complies with local regulations and safety standards.
Inspecting And Testing The Installation
Inspecting and testing the installation of solar panels is an important step to ensure optimal functionality and safety. By conducting thorough inspections and tests, you can identify any potential issues and make necessary adjustments to achieve maximum energy efficiency. It is advisable to seek professional assistance to ensure proper installation and adherence to warranty and regulatory requirements.
Verifying Proper Panel Orientation
Once the solar panels are installed, it is essential to verify their proper orientation. This ensures that the panels receive maximum sunlight exposure, optimizing their performance and energy generation. When inspecting the installation, make sure that the panels are facing south in the northern hemisphere and north in the southern hemisphere. This orientation allows the panels to capture the most sunlight throughout the day, especially during peak hours when the sun is directly overhead.
Conducting A System Performance Test
To ensure that your newly installed solar panel system is functioning optimally, it is crucial to conduct a system performance test. This test measures the generated voltage, current, and power output of the solar panels. Start by checking the output voltage and current at the panels’ terminals using a multimeter. Compare these values with the panel’s specifications to confirm that they fall within the expected range.
Next, connect the solar panels to the inverter and monitor the system’s power output. This can be done by checking the inverter’s display or using specialized monitoring software. Observe and record the energy production over a specific period, such as a day or a week, to assess the system’s performance.
During the performance test, pay attention to any fluctuations or abnormalities in the energy production. These could indicate potential issues with the installation, such as shading, faulty connections, or impaired panel performance, which may require further inspection and troubleshooting.
Remember to check the system’s performance periodically to ensure that it continues to generate electricity efficiently. This will help you identify any potential problems early on and take appropriate measures to rectify them.
Credit: www.hachettebookgroup.com
Frequently Asked Questions On How To Install Solar Panels
Can I Install A Solar Panel System Myself?
It is definitely doable to set up your own solar panel system. However, it requires a good understanding of electrical systems. Keep in mind that certain warranties, insurance policies, or local rules may require installation by a certified professional.
How Much Is A Solar System For A 2000 Sq Ft House?
The cost of a solar system for a 2000 sq ft house varies depending on factors such as location, energy consumption, and specific system requirements. It is recommended to consult with solar installation professionals for a personalized quote.
How Do I Connect Solar Panels To My House Electricity?
To connect solar panels to your house electricity, follow these steps: First, install the panels on your roof. Then, connect the panels to an inverter. Next, wire the battery into your home’s circuit breaker panel. Finally, connect the inverter to the fuse box.
How Are Solar Panels Installed Step By Step?
Here are the step-by-step instructions for installing solar panels: 1. Install the mount. 2. Place the solar panels in position. 3. Connect the electrical wiring. 4. Attach the solar inverter to the system. 5. Connect the solar inverter to the solar battery.
6. Link the solar inverter to the power grid. 7. Turn on the solar inverter.
Conclusion
Installing solar panels may seem like a daunting task, but with the right knowledge and guidance, it is possible to do it yourself. It is important to have a solid understanding of electrical systems before attempting the installation. While some warranties, insurance policies, or local regulations may require professional installation, many people successfully install solar systems on their own.
By following a step-by-step process, such as installing mounts, connecting wiring, and linking to the power grid, you can harness the power of the sun and enjoy the benefits of renewable energy in your home.